Sunday, February 17, 2019

Hey There!! Turnabout Cards

Hey all!  I took a break from cleaning my craft room to make a couple of cards with some Concord & 9th products I just got - my Valentine's present to myself!


I actually made the white version first:


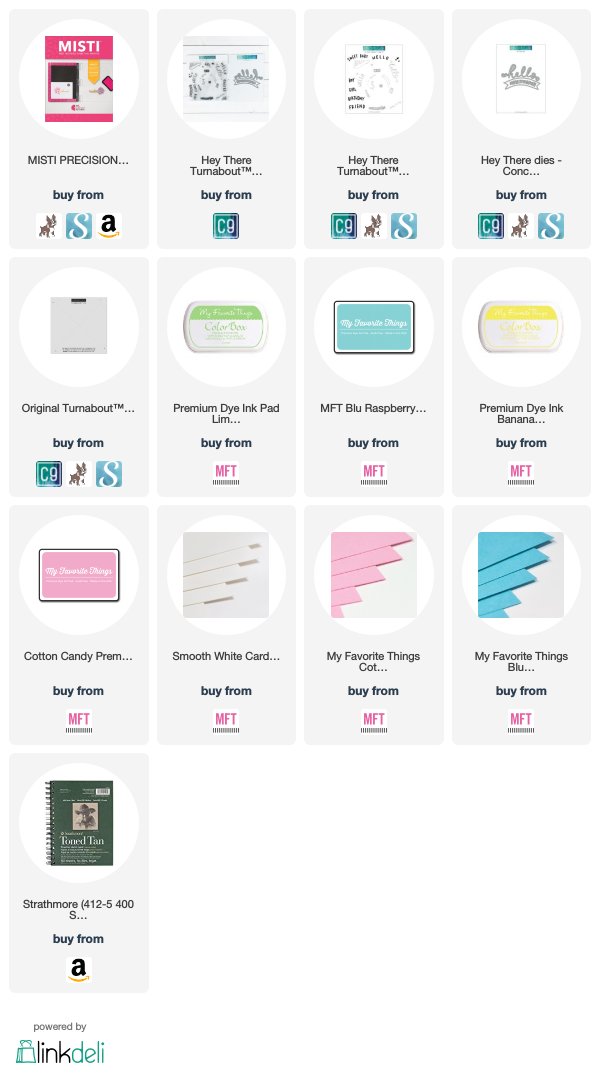
I used the Concord & 9th Hey There Turnabout stamp set and matching dies, plus the new Turnabout Jig in the 6x6" size.  I stamped it 4 times using 4 My Favorite Things inks with the Original MISTI, then die cut the script hello from it, being careful to keep all the tiny little inner pieces too.  I then die cut the same hello twice from the pink cardstock (no need to keep the innards).

Side note: the Glue Sponge was a huge hit at this year's Creativation, so I Googled it to find where to buy it.  Well, I was surprised to find out that this idea has been around for years - used by teachers to help kids with gluing things more neatly in the classroom!  I am all about instant gratification so I had to make one instead of waiting for it to ship to me (although I think that the real product is probably worth the money!).

So here's my homemade version using an old set of gladware, a couple antibacterial sponges, and a 4 oz. bottle of Elmer's white glue.  I probably should have used a special paper glue to prevent buckling, but this is what was easy to get:


First I adhered the stamped background (which had been die cut with a stitched rectangle die) to the pink card base, then used the glue sponge to help stick down the first pink hello diecut.  Then I stuck in all the little innards from the stamped layer into the pink diecut.  I find this makes the whole project look better to actually have those inner pieces in there.  And the glue sponge was perfect for this!

Next I stuck down the other pink hello, then the stamped hello on top of it all.  And that's it!

For the other card, I used the same ink colors, but stamped on a piece of Toned Tan sketchbook paper (it's a cheap alternative to kraft cardstock for me).  The steps are basically the same, but with the other dies in the set.

Also, I used Blue Raspberry cardstock for this one.

I hope you like these cards and TFL!  ~Maureen

{Affiliate links don't cost you anything extra, but help offset my stamping addiction!}
Sunday, February 3, 2019

Fairy Scalloped Box Card

Hi all!  It's been a while, hasn't it?  I completely lost my stamping bug, but it seems to be back so I'm playing again!

I recently got the Lawn Fawn Scalloped Box Card Pop-Up dies:

Lawn Fawn SCALLOPED BOX CARD POP-UP Lawn Cuts LF1376

I thought it was so cute, I had to make one!


I stamped the images from the Fairy Friends stamp set using my Mini MISTI and Memento Black ink.  Then I took it out and colored with Chameleon markers.  I put the images back in my MISTI and overstamped with Versafine Onyx Black ink.  Finally I used my Scan N Cut to cut them all out.

I cut all the box pieces from a couple of different Lawn Fawn patterned papers and assembled the box.  Then I stuck in all the pieces with my ATG tape gun.  For the fairies, I cut thin strips of stiff plastic and adhered them to the box with the strips so it looks like they're flying.

Lastly, I stamped the sentiment from the set with Versafine on a scrap of the blue PP, trimmed it out, and used foam tape to adhere it to the front flap.  I love how it turned out!!

I hope to keep posting as long as my stamping bug stays and I can share with you all.  Please note that affiliate links are used in my posts.  TFL and have a great day! ~Maureen


Wednesday, April 4, 2018

Laminating All The Stuff!

Hi all!  I just posted a video showing how to make some laminated stuff.  You can make bookmarks, dashboards, washi sample cards, etc.  And I spruced things up with some glitter and holographic sticker paper to make everything prettier!


Here are some regular links:
Simply Gilded on Shopify (opening sometime in April)


And affiliate links (I get a small portion of the purchase price at no extra cost to you!):


If you have any questions on what I did, please leave me a comment here or on the video.  TFL!

Saturday, March 31, 2018

Maui Mermaids Coloring Book Review

Hi all!  I just posted a quick video review of the Maui Mermaids coloring book by Hannah Lynn and thought some of you might be interested in it:


You can either get the hard copy at Amazon (affiliate link) or at HannahLynn.com.  And in case you're interested in the pearl paints, here's my affiliate link for those.

TFL and hope you have a great day!

Saturday, January 13, 2018

Cross Stitching Stand

Hi all!  I haven't been posting lately because I've been so busy with life and my current obsession - cross stitching!  I've made a couple of PVC stands to hold my works to stitch on and thought I'd share my favorite one with you all.  Here it is with my current WIP on it (on an 11" X 17" Q-Snap frame):


 And here it is without the WIP on it so you can see how it all goes together:


You basically just need PVC pipes and joint pieces from the hardware store.  I used the 1/2" pipes and matching joints.  I would also recommend a PVC cutter.  They're not that expensive and really make cutting the pipes a breeze!

Here's a pic of all the pieces (with measurements) I used to make my current favorite stand:


As you can also see from the pic, I used 2 T joints, 4 elbow joints, and 2 caps.

Here's an alternative was to make the legs to make it more sturdy (but it does take up more space):


BTW - that 11.5" piece is there to hold your piece at the preferred angle.  If I don't put that extra piece in, the work just hangs straight down.  Here's a pic from the back showing how it holds up the frame:


To actually hold the Q-Snap frame to the stand, I used these clamps from Amazon.  I used zip ties to hold them to the stand:


I used one really long zip tie and 2 small ones for each clamp.  First, I tied the long one around the pipe and tightened it (not all the way).  Then I used the 2 small ones to tie the clamp to the long tie - one in front of the hinge and one behind so they can't fall off.  Once everything was tied together, I tightened up the ties all the way.   I put the clamp in the middle in case I use any of my smaller Q-Snap frames, like my 11" X 11" one.

So there you go.  I didn't cement mine together because I like that I can disassemble it to store.  If you have any questions, please leave a comment.  I hope you like this idea and TFL!

Saturday, November 18, 2017

Planner Street

Hi all!  You may know that my new obsession is planning and traveler's notebooks (or TNs) and everything that goes with, like stickers.  I've been buying a TON of stuff for my TN and just discovered the most adorable store - Planner Street.   They have the cutest stickers and stamps and die cuts and I had to place a giant order.  I'm not affiliated or anything, just love their stuff so I decided to make a haul video and share a couple things I made.  Here it is:


And here are some quick pics of my haul:


So check them out and hopefully you'll love them as much as I do! 

Saturday, September 16, 2017

I'm back with a "junk" journal!

Hi everybody!  I'm sorry for my long absence - I lost my stamping mojo so haven't been posting or making videos.  BUT I have been crafting - just not with stamps.  I discovered the wonderful world of Traveler's Notebooks and "junk" journals and have one to share with you today.  Here's the flip through:


Hope you like it and TFL!