Sunday, July 24, 2022

New Junk Journal Format

 Hi all!  Today I'm all about this little junk journal I just made:


It is really fun - opening on the left AND right!  Check out the video to see it in action:


I'd love to know what you think of it!  Please leave me a (not mean) comment here or on YT and let me know if it works for you, or if there's anything you would change.  TFL and see you next time!  ~Maureen

Wednesday, June 22, 2022

Stitched Hi

 Hey all!  Can you believe I have another card for you and it hasn't been years since my last one?!


I'm still playing with my Spellbinders stuff and am really loving all their stitching dies, so I used the Stitched Hi dies with some bright silver cardstock from Heartfelt Creations.  I stitched it with some blue variegated embroidery floss from DMC (although you can't really see any variation in my picture) and mounted the whole thing on a dark blue cardstock cut with the outline die.

For the background, I used the Circular Stitch Background die, but embossed it instead of cutting it out on a white A2 piece of cardstock.  I glued that to my card base, and then mounted the Hi with foam dots.

To finish it off, I embossed a sentiment from the Just Wanted To Say Sentiments on the same blue cardstock with silver embossing powder and trimmed down.  I remembered to use my anti-static powder tool from Taylored Expressions for a perfect emboss with no stray bits of powder.  I then glued the sentiment strip straight to the background.  I didn't pop it up because I didn't want it to compete with the Hi.

That's all for now, but hopefully I'll see you again soon!  I'm trying really hard to get back into the swing of cardmaking again.  Thanks for looking and hope you have a great day!


*Please note that affiliate links are used whenever possible.  There is no extra charge for you, but I receive a small amount from those sales.  Thank you!*


Tuesday, June 14, 2022

Happy 20th Birthday Spellbinders!

Hey everybody!  It's been 84 years since I last posted so you must be surprised to see me!  Well, I was so lucky to be invited to celebrate Spellbinder's 20th birthday with them!  Here are the two cards I made for the occasion:


First up, is this super fun stitching background card: 


I used a piece of patterned paper from the new Cheerful Occasions paper pad to cut out the Stitched Fanfare background die.  First I glued it to a piece of heavy weight cardstock to give it more stability when stitching and then cut it out.

I then stitched all the half moon motifs with DMC Etoile embroidery thread.  It's got a nice little sparkle, which is perfect for celebratory cards!  I then took another piece of patterned paper from the collection and mounted it onto an A2 top folding card.  I glued the stitched background over that.


I foiled the "a big hello from me to you" sentiment from the Sentiments for Everyday hot foil plate and die set onto white cardstock with gold foil and fussy cut out.  I added the sentiment to the background with foam tape and finished off the card with a few baubles.

Second, I have this fun birthday cake card:


This is a top folding A2 white card base with a piece of patterned paper (also from the Cheerful Occasions paper pad) cut slightly smaller.

I die cut the Stitched Fringe Cake layers in pink and red cardstocks, then cut down 2 of them so they would layer in a pyramid.  Then I stitched with more DMC Etoile thread.  

I cut the cake stand and the candles from silver mirror cardstock, and the wicks and flames from white cardstock, then simply colored the flame portions yellow.  I glued everything together to make my cake and mounted it on a piece of white cardstock with rounded corners.

I foiled the sentiment "make a wish" from the Yana's Special Sentiments set with silver foil and die cut it out with the matching die.  I inked the edges of the sentiment and the white panel with blush ink and mounted them on the card base with foam tape.  Finally I finished it off with a bunch of clear baubles.


Happy 20th birthday, Spellbinders, and here's to many more!!  Thanks so much for letting me celebrate with you all!!  ~Maureen

*Please note that affiliate links are used whenever possible.  There is no extra charge for you, but I receive a small amount from those sales.  Thank you!*


Monday, September 28, 2020

Update!

 Hey all!  It's been FOR.E.VER (and a few days) since I blogged last, so I wanted to post an update of what's been going on with me.  

I completely lost my stamping/cardmaking mojo.  But I'm still buying some stuff here and there because I'm pretty sure I'll get it back at some point.

I took up sewing/quilting!  After sewing a bunch of masks for family and such, I decided I hate sewing masks, but actually enjoy sewing!  So I did some searching on what to sew and came up with quilts.  I have been completely obsessed with quilting and even transformed part of my craft room into a sewing/quilting area. 

As per my adult ADD, I have *one million* projects on the go and have a hard time picking each day what I'm going to work on.  One of those projects is the Fat Quarter Shop Sewcialites Quilt Along.    


We just started on Friday, Sept. 25 with our first free block pattern (out of 36 total), and will be getting a new one each Friday until well into 2021!!  You can make 3" blocks, 6" blocks, or 9" blocks, or any combination of them.  I'm working on the 6" size and the first block was definitely a challenge for me, but I really took my time cutting, pinning, and sewing it all together and I think it came out really great!


I hope to be sharing more about my quilting adventures here on my blog and on my YouTube channel, so if you're at all interested in this stuff, please stay tuned!  Thanks for looking and hope you have a great day!


Monday, April 29, 2019

Birthday Basics Turnabout Cards

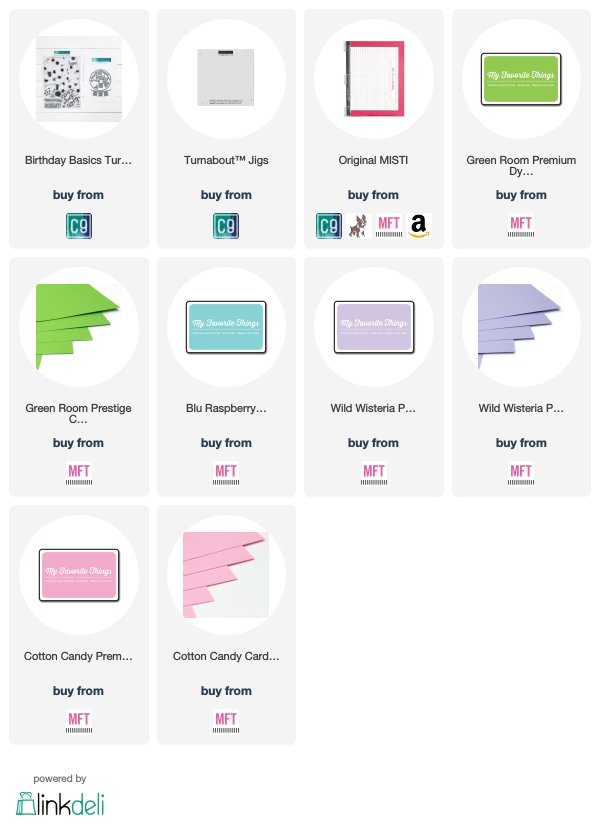
Hi all!  I actually have 3 cards for you today!  The reason is because I also have a little tip for you: when you use your turnabout stamps and dies from Concord & 9th, make at least a few at the same time to save time!  Since you already went through the trouble of setting up the turnabout stamp in your MISTI (or other stamp positioning tool) and picked out your coordinating colors of ink, why not stamp a bunch of card fronts to have ready to go later when you need a last minute card and are strapped for time?  Birthday cards are especially handy to have around, so here are a few ideas for you.


As I said, I set up my Birthday Basics turnabout stamp in my original MISTI and picked out 4 colors of ink from My Favorite Things that I love together.  I also got out a sheet of kraft cardstock and white cardstock and cut them in quarters, making a total of 8 A2 size cardfronts.  I also needed a few extra turnabout jigs for this so I picked up a couple extra from Concord & 9th, but you could also make your own out of cardstock (like we used to do in the pre-jig days).

I put the jig with card front in the first position and stamped with the pink ink.  Then I switched out the jig to another with a blank card front and put it in the first position and stamped with the pink ink.  I went ahead and stamped all the fronts with the pink ink and then cleaned off the stamp.  It saves a lot of time not having to clean the stamp every single time you stamp!

Then I put the jig in position 2 and stamped with the green ink.  And continued with all the fronts.  Then I did the blue and purple inks.  When I was done, I had 8 card fronts on 2 different colors of cardstock!


To make the shaker card, I took one of the kraft panels and die cut an opening with a Lawn Fawn die.  I got a white cardstock base and stamped with the word and confetti images from the Birthday Basics set with the same ink colors.  I added 2 layers of craft foam with a circle cut out of them, and filled the opening with the Enchanting sequin mix from Little Things from Lucy's Cards - it's the perfect match for my colors!  Finally I sealed off the opening with some Duralar film and it was done!

My second and third cards are a twofer - I made one with bits left over from the other!


I used the dies in the matching die set and also the Altenew Bold Alphabet die set for the HAPPY letters.

And I still have 6 card fronts left to make into cards!!  Such a great way to save time making multiple cards (and they don't all have to be the same design).

Thanks very much for stopping by my blog and hope you have a great day! ~Maureen

*Affiliate links don't cost you any extra, but help me out.  Thank you!

Monday, April 15, 2019

(Not So) Quick Tip #3: Layering Stamp Templates

Hi all!  Today I have the next video in my Quick Tips series, however it's not so quick this time.  But I still think it's a pretty good tip - making templates for your more difficult layering stamps (or all your layering stamps if you want!).


The concept is that you make a series of templates - one for each layer - so you can easily place the stamps in your MISTI or other stamp positioner the next time you use the set.  You only need to figure out the placement once to make the templates, then you can use the templates to show you the exact placement of each stamp in the future!  I'm sure that's clear as mud, so here's the video:


And here's a look at the templates I made for the Prettiest Pomander set:


I hope it makes sense!  If not, leave me a comment below and I'll try to make it clearer!  If you use this tip, please LMK which set you did it for - I'd love to hear if it helped!!  Thanks for stopping by my blog and hope you have a great rest of your day!  ~Maureen

*Affiliate links cost you nothing extra, but help me out!  Thank you for shopping with them!

Wednesday, March 20, 2019

Everyday Bouquet Thanks

Hello all!  Today I'm sharing a little 4.25" square card that I threw together to thank the people at the dentist's office for taking such good care of my teeth:


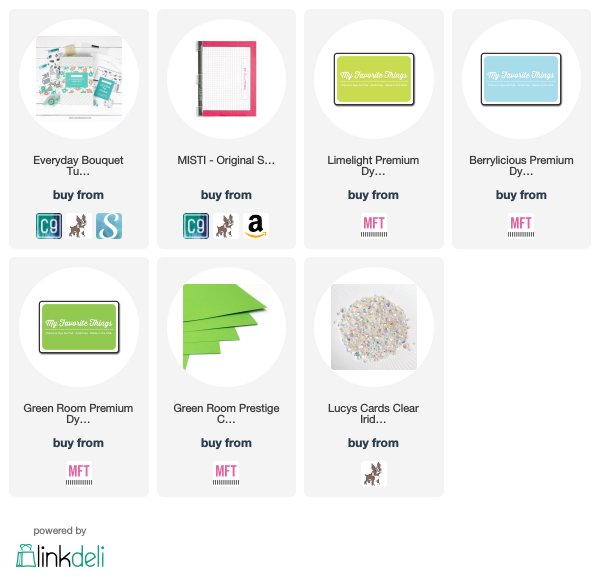
I used the stamp set from the Everyday Bouquet Turnabout Toolkit, positioning it in my MISTI using the included guide and then cut a piece of white cardstock into a 4.5" square.  I stamped the image 4 times with My Favorite Things inks (Berrylicious, Green Room, Limelight, and Banana Split which is apparently discontinued - sorry!), turning the square each time and cleaning off the previous ink.

I then diecut the panel using a Your Next Stamp stitched square die and the Thanks word die from the Toolkit.  I cut the Thanks 3 more times from white cardstock and stacked them together.  I adhered the panel to a Green Room card base and fit in the white letters.  I then glued the patterned letters over the white letters and finished off the card with some Lucy's Cards Jewels.


I love this effect - you can barely see the thanks when looking at the card straight on, but turn it a little to the side and it jumps out at you!  I hope you like this card and thanks for stopping by my blog today!  ~Maureen


*Affiliate links don't cost you any extra, but help me out!  Thank you!

Sunday, March 17, 2019

Watercolored With Love

Hello there!  Today I have a watercolored card for you:


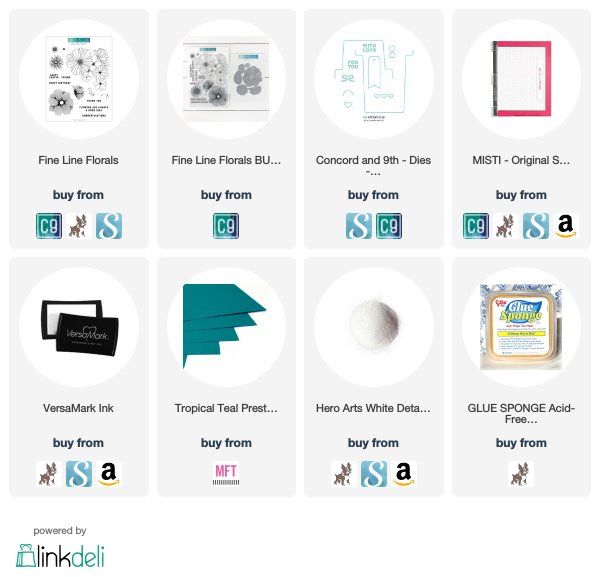
I took a piece of Arches watercolor paper, prepped it with my anti-static powder bag, then inked up the largest image from the Fine Line Florals set and stamped in my MISTI several times, reinking each time to make sure the ink really got into all the nooks and crannies of the paper.  I then heat embossed the image with Hero Arts detail white embossing powder.

I used blue painter's tape to stick my paper down to an old wooden cutting board to keep it flat while I watercolored.  Then I used a bunch of different Daniel Smith watercolor paints to color my image.  I added some paint spatters then dried the whole thing with my heat tool.  I die cut the panel using a Your Next Stamp stitched rectangle die and also die cut the the WITH LOVE from the panel.

I adhered the panel to a card base of Teal cardstock and then used my glue sponge to add the letters back in because  I wanted a really subtle look with the sentiment.  Finally I added some sequins from Lucy's Little Things.

I hope you like my card and thanks for stopping by my blog today! ~Maureen

*Affiliate links cost you nothing, but helps me out!  Thanks!

Friday, March 15, 2019

Happy Easter Box Card

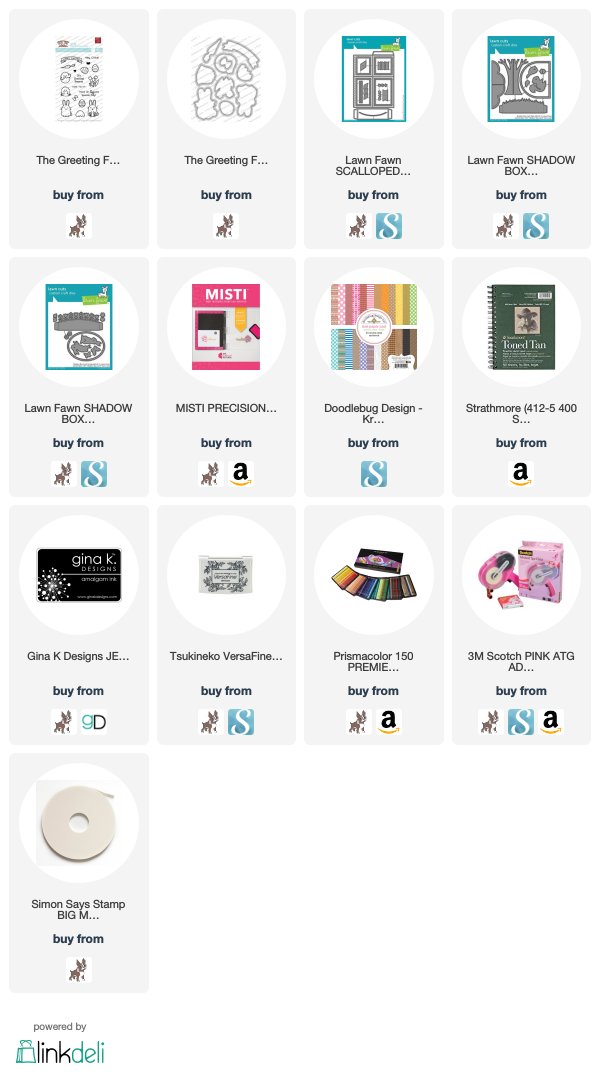
Hi all! Today I have a box card for you using The Greeting Farm images and a bunch of Lawn Fawn dies:

I should have taken some pics during the process, but I was actually filming it on my phone and it didn't go well, so no pics or video!  Anyway, I'll tell you what all I did :)

I felt like doing colored pencils on kraft and making a whole kraft project, so I did!  I stamped all the images (some multiple times) with Gina K.'s black amalgam ink on the Toned Tan paper with my MISTI then colored with colored pencils and blended with Zest It.  I put it back in the MISTI and overstamped with Versafine because it gives such a nice black, crisp line.

Unfortunately I don't have dies for this set so I cut them out with my Scan N Cut.  Apparently my SNC had a little difficulty with the tan background so I had to trim off some weird extra bits with scissors.

The box parts were cut out of Papertrey Ink kraft cardstock and the patterned paper is from the Doodlebug kraft 6x6 paper pad.  Then I just assembled everything (make sure to put in that paper for the back panel before you assemble because it's harder once the box is put together).  Most were just stuck on with my ATG gun, but a few things were popped up on foam tape.


I hope you like my project and TFL!  ~Maureen


Wednesday, March 6, 2019

Quick Tips #2

Hi all!  I have the second video in my Quick Tips series for you today.  FYI - my video camera broke so I'm now filming on my phone.  That's why it looks different.


I hope this helps you, and if it does, please LMK in the comments!  TFL and have a great day! ~Maureen

*Affiliate links below don't cost you anything extra, but help me out.  Thank you!

Friday, February 22, 2019

Quick Tips Video #1

Hi all!  I was filming a project video and had so many little tips to share that the video became much too long for anyone to want to watch! So I decided to start a series called Quick Tips sharing just the little tips I come up with so you don't have to watch a whole project video just to get a couple of little tips and tricks.

#1 has a couple tips about working with intricate diecuts.  Hope you find these them helpful!


That's all for now, but I'll definitely have more Quick Tips to share with you in the future!  TFL!

*Affiliate links below don't cost you anything extra, but help me out.  Thank you!

Monday, February 18, 2019

Make Yesterday Jealous!

Hey all! I'm trying to find a happy medium between cleaning my craft room and actually taking time to craft, and here's the result of one of those crafting sessions:


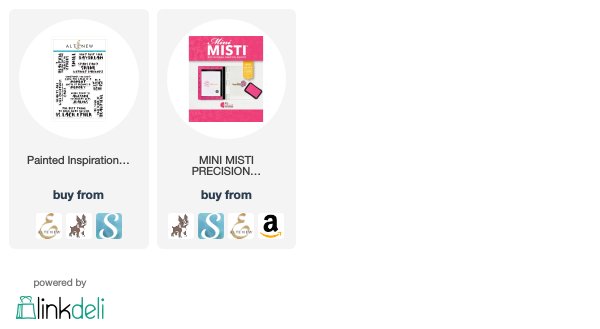
I just love this sentiment from the Altenew Painted Inspiration stamp set!  I also picked it because it's a very bold font so I thought it would still be readable even over the bit of the mandala (I hope it is!).

Mandalas are very popular and fun to color, but buying big mandala stamps can really add up, so I thought I'd share one solution I've come up with - I bought a digital book of mandala designs to color!  I looked around for a while to find a whole book (as opposed to buying single images, which also adds up) with designs that I would actually want to color.  I finally found this one, Blooming Mandala coloring book, on Etsy that I love!  It's got 50 images and they are really pretty and fun to color!

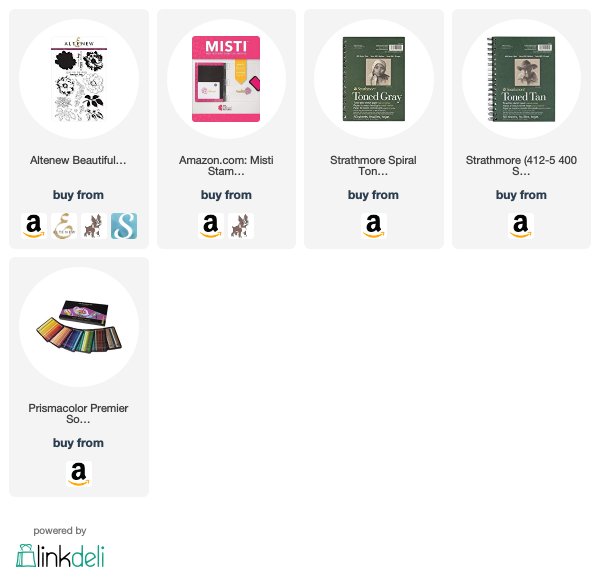
They are meant to be printed on letter size paper so I just cut it up into 4 pieces and colored one.  I printed on plain old Georgia Pacific cardstock from Walmart and colored with Chameleon alcohol pens.  I wouldn't recommend trying to do a lot of blending on this cardstock because it does tend to bleed a lot, so the Chameleon pens were perfect to get that gradated look without any blending.

After coloring, I die cut it with a stitched rectangle die and matter with a piece of Blushing Bride cardstock from Stampin' Up!  I stamped the sentiment using my Mini MISTI and Versafine several times to get it really nice and solid, then embossed with clear embossing powder.

Finally I mounted the whole thing on a white card base then got back to cleaning! lol!  I hope you like this idea for lots of mandala coloring fun and thanks for stopping by today.  Have a great day! ~Maureen

 Affiliate links don't cost you any extra, but help with the cost of my stamping addiction!

Sunday, February 17, 2019

Hey There!! Turnabout Cards

Hey all!  I took a break from cleaning my craft room to make a couple of cards with some Concord & 9th products I just got - my Valentine's present to myself!


I actually made the white version first:


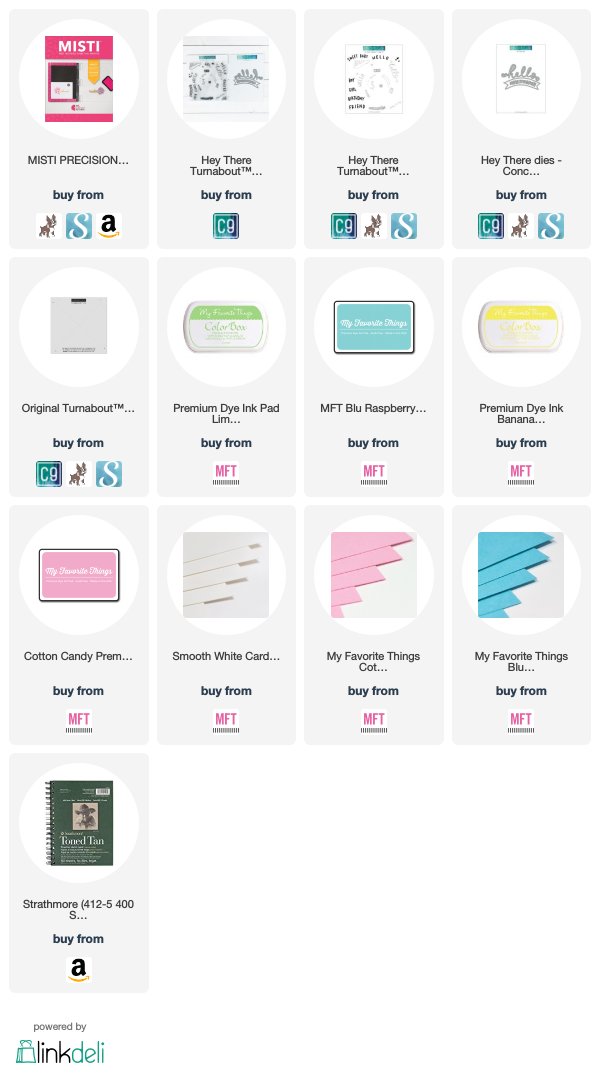
I used the Concord & 9th Hey There Turnabout stamp set and matching dies, plus the new Turnabout Jig in the 6x6" size.  I stamped it 4 times using 4 My Favorite Things inks with the Original MISTI, then die cut the script hello from it, being careful to keep all the tiny little inner pieces too.  I then die cut the same hello twice from the pink cardstock (no need to keep the innards).

Side note: the Glue Sponge was a huge hit at this year's Creativation, so I Googled it to find where to buy it.  Well, I was surprised to find out that this idea has been around for years - used by teachers to help kids with gluing things more neatly in the classroom!  I am all about instant gratification so I had to make one instead of waiting for it to ship to me (although I think that the real product is probably worth the money!).

So here's my homemade version using an old set of gladware, a couple antibacterial sponges, and a 4 oz. bottle of Elmer's white glue.  I probably should have used a special paper glue to prevent buckling, but this is what was easy to get:


First I adhered the stamped background (which had been die cut with a stitched rectangle die) to the pink card base, then used the glue sponge to help stick down the first pink hello diecut.  Then I stuck in all the little innards from the stamped layer into the pink diecut.  I find this makes the whole project look better to actually have those inner pieces in there.  And the glue sponge was perfect for this!

Next I stuck down the other pink hello, then the stamped hello on top of it all.  And that's it!

For the other card, I used the same ink colors, but stamped on a piece of Toned Tan sketchbook paper (it's a cheap alternative to kraft cardstock for me).  The steps are basically the same, but with the other dies in the set.

Also, I used Blue Raspberry cardstock for this one.

I hope you like these cards and TFL!  ~Maureen

{Affiliate links don't cost you anything extra, but help offset my stamping addiction!}
Sunday, February 3, 2019

Fairy Scalloped Box Card

Hi all!  It's been a while, hasn't it?  I completely lost my stamping bug, but it seems to be back so I'm playing again!

I recently got the Lawn Fawn Scalloped Box Card Pop-Up dies:

Lawn Fawn SCALLOPED BOX CARD POP-UP Lawn Cuts LF1376

I thought it was so cute, I had to make one!


I stamped the images from the Fairy Friends stamp set using my Mini MISTI and Memento Black ink.  Then I took it out and colored with Chameleon markers.  I put the images back in my MISTI and overstamped with Versafine Onyx Black ink.  Finally I used my Scan N Cut to cut them all out.

I cut all the box pieces from a couple of different Lawn Fawn patterned papers and assembled the box.  Then I stuck in all the pieces with my ATG tape gun.  For the fairies, I cut thin strips of stiff plastic and adhered them to the box with the strips so it looks like they're flying.

Lastly, I stamped the sentiment from the set with Versafine on a scrap of the blue PP, trimmed it out, and used foam tape to adhere it to the front flap.  I love how it turned out!!

I hope to keep posting as long as my stamping bug stays and I can share with you all.  Please note that affiliate links are used in my posts.  TFL and have a great day! ~Maureen


Wednesday, April 4, 2018

Laminating All The Stuff!

Hi all!  I just posted a video showing how to make some laminated stuff.  You can make bookmarks, dashboards, washi sample cards, etc.  And I spruced things up with some glitter and holographic sticker paper to make everything prettier!


Here are some regular links:
Simply Gilded on Shopify (opening sometime in April)


And affiliate links (I get a small portion of the purchase price at no extra cost to you!):


If you have any questions on what I did, please leave me a comment here or on the video.  TFL!

Saturday, March 31, 2018

Maui Mermaids Coloring Book Review

Hi all!  I just posted a quick video review of the Maui Mermaids coloring book by Hannah Lynn and thought some of you might be interested in it:


You can either get the hard copy at Amazon (affiliate link) or at HannahLynn.com.  And in case you're interested in the pearl paints, here's my affiliate link for those.

TFL and hope you have a great day!

Saturday, January 13, 2018

Cross Stitching Stand

Hi all!  I haven't been posting lately because I've been so busy with life and my current obsession - cross stitching!  I've made a couple of PVC stands to hold my works to stitch on and thought I'd share my favorite one with you all.  Here it is with my current WIP on it (on an 11" X 17" Q-Snap frame):


 And here it is without the WIP on it so you can see how it all goes together:


You basically just need PVC pipes and joint pieces from the hardware store.  I used the 1/2" pipes and matching joints.  I would also recommend a PVC cutter.  They're not that expensive and really make cutting the pipes a breeze!

Here's a pic of all the pieces (with measurements) I used to make my current favorite stand:


As you can also see from the pic, I used 2 T joints, 4 elbow joints, and 2 caps.

Here's an alternative was to make the legs to make it more sturdy (but it does take up more space):


BTW - that 11.5" piece is there to hold your piece at the preferred angle.  If I don't put that extra piece in, the work just hangs straight down.  Here's a pic from the back showing how it holds up the frame:


To actually hold the Q-Snap frame to the stand, I used these clamps from Amazon.  I used zip ties to hold them to the stand:


I used one really long zip tie and 2 small ones for each clamp.  First, I tied the long one around the pipe and tightened it (not all the way).  Then I used the 2 small ones to tie the clamp to the long tie - one in front of the hinge and one behind so they can't fall off.  Once everything was tied together, I tightened up the ties all the way.   I put the clamp in the middle in case I use any of my smaller Q-Snap frames, like my 11" X 11" one.

So there you go.  I didn't cement mine together because I like that I can disassemble it to store.  If you have any questions, please leave a comment.  I hope you like this idea and TFL!

Saturday, November 18, 2017

Planner Street

Hi all!  You may know that my new obsession is planning and traveler's notebooks (or TNs) and everything that goes with, like stickers.  I've been buying a TON of stuff for my TN and just discovered the most adorable store - Planner Street.   They have the cutest stickers and stamps and die cuts and I had to place a giant order.  I'm not affiliated or anything, just love their stuff so I decided to make a haul video and share a couple things I made.  Here it is:


And here are some quick pics of my haul:


So check them out and hopefully you'll love them as much as I do! 

Saturday, September 16, 2017

I'm back with a "junk" journal!

Hi everybody!  I'm sorry for my long absence - I lost my stamping mojo so haven't been posting or making videos.  BUT I have been crafting - just not with stamps.  I discovered the wonderful world of Traveler's Notebooks and "junk" journals and have one to share with you today.  Here's the flip through:


Hope you like it and TFL!

Friday, May 26, 2017

Unity & My Sweet Petunia Blog Hop


Hi all and welcome to my stop on the Unity and My Sweet Petunia Blog Hop!  If you've been following the hop, you should have come from Angie's blog.  If you just happened by my blog, you'll want to go back to the My Sweet Petunia blog so you don't miss a stop (links are listed down below).

I wanted to share a super fast, fun project today - pre-decorated envelopes using the adorable Happy Snail Mail set:


You can either mail cards in them, or notes, or letters.  They're so great to just grab and go!  And of course using your MISTI makes them really fast and easy to create!  Then I just did some quick coloring with a few colored pencils and they're done!

Why yes, there are prizes to be won: comment on every blog on the hop and you'll be entered to win one of three Unity prize packs or your choice of Original or Mini MISTI!!  Please leave all comments by May 30 at noon Central time.  Winners will be posted on both the Unity Blog and the My Sweet Petunia blogs on May 31st.

Here's the full list of stops on the hop:

Unity Blog

And now it's time for you to check out the blog of the amazing Kary Lim, but before you go don't forget to leave me a comment!  Happy hopping!