Showing posts with label Altenew. Show all posts

Monday, April 29, 2019

Birthday Basics Turnabout Cards

Hi all!  I actually have 3 cards for you today!  The reason is because I also have a little tip for you: when you use your turnabout stamps and dies from Concord & 9th, make at least a few at the same time to save time!  Since you already went through the trouble of setting up the turnabout stamp in your MISTI (or other stamp positioning tool) and picked out your coordinating colors of ink, why not stamp a bunch of card fronts to have ready to go later when you need a last minute card and are strapped for time?  Birthday cards are especially handy to have around, so here are a few ideas for you.


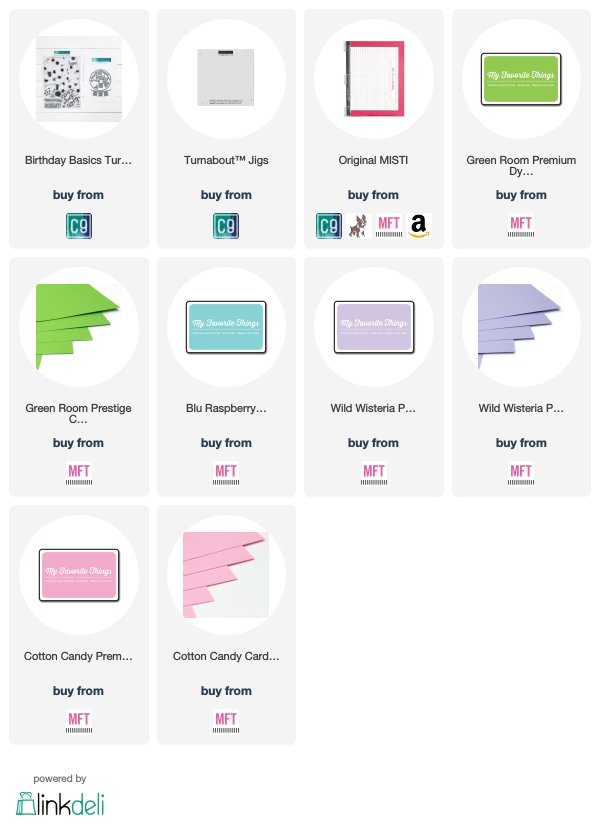
As I said, I set up my Birthday Basics turnabout stamp in my original MISTI and picked out 4 colors of ink from My Favorite Things that I love together.  I also got out a sheet of kraft cardstock and white cardstock and cut them in quarters, making a total of 8 A2 size cardfronts.  I also needed a few extra turnabout jigs for this so I picked up a couple extra from Concord & 9th, but you could also make your own out of cardstock (like we used to do in the pre-jig days).

I put the jig with card front in the first position and stamped with the pink ink.  Then I switched out the jig to another with a blank card front and put it in the first position and stamped with the pink ink.  I went ahead and stamped all the fronts with the pink ink and then cleaned off the stamp.  It saves a lot of time not having to clean the stamp every single time you stamp!

Then I put the jig in position 2 and stamped with the green ink.  And continued with all the fronts.  Then I did the blue and purple inks.  When I was done, I had 8 card fronts on 2 different colors of cardstock!


To make the shaker card, I took one of the kraft panels and die cut an opening with a Lawn Fawn die.  I got a white cardstock base and stamped with the word and confetti images from the Birthday Basics set with the same ink colors.  I added 2 layers of craft foam with a circle cut out of them, and filled the opening with the Enchanting sequin mix from Little Things from Lucy's Cards - it's the perfect match for my colors!  Finally I sealed off the opening with some Duralar film and it was done!

My second and third cards are a twofer - I made one with bits left over from the other!


I used the dies in the matching die set and also the Altenew Bold Alphabet die set for the HAPPY letters.

And I still have 6 card fronts left to make into cards!!  Such a great way to save time making multiple cards (and they don't all have to be the same design).

Thanks very much for stopping by my blog and hope you have a great day! ~Maureen

*Affiliate links don't cost you any extra, but help me out.  Thank you!

Monday, April 15, 2019

(Not So) Quick Tip #3: Layering Stamp Templates

Hi all!  Today I have the next video in my Quick Tips series, however it's not so quick this time.  But I still think it's a pretty good tip - making templates for your more difficult layering stamps (or all your layering stamps if you want!).


The concept is that you make a series of templates - one for each layer - so you can easily place the stamps in your MISTI or other stamp positioner the next time you use the set.  You only need to figure out the placement once to make the templates, then you can use the templates to show you the exact placement of each stamp in the future!  I'm sure that's clear as mud, so here's the video:


And here's a look at the templates I made for the Prettiest Pomander set:


I hope it makes sense!  If not, leave me a comment below and I'll try to make it clearer!  If you use this tip, please LMK which set you did it for - I'd love to hear if it helped!!  Thanks for stopping by my blog and hope you have a great rest of your day!  ~Maureen

*Affiliate links cost you nothing extra, but help me out!  Thank you for shopping with them!

Wednesday, March 6, 2019

Quick Tips #2

Hi all!  I have the second video in my Quick Tips series for you today.  FYI - my video camera broke so I'm now filming on my phone.  That's why it looks different.


I hope this helps you, and if it does, please LMK in the comments!  TFL and have a great day! ~Maureen

*Affiliate links below don't cost you anything extra, but help me out.  Thank you!

Friday, February 22, 2019

Quick Tips Video #1

Hi all!  I was filming a project video and had so many little tips to share that the video became much too long for anyone to want to watch! So I decided to start a series called Quick Tips sharing just the little tips I come up with so you don't have to watch a whole project video just to get a couple of little tips and tricks.

#1 has a couple tips about working with intricate diecuts.  Hope you find these them helpful!


That's all for now, but I'll definitely have more Quick Tips to share with you in the future!  TFL!

*Affiliate links below don't cost you anything extra, but help me out.  Thank you!

Monday, February 18, 2019

Make Yesterday Jealous!

Hey all! I'm trying to find a happy medium between cleaning my craft room and actually taking time to craft, and here's the result of one of those crafting sessions:


I just love this sentiment from the Altenew Painted Inspiration stamp set!  I also picked it because it's a very bold font so I thought it would still be readable even over the bit of the mandala (I hope it is!).

Mandalas are very popular and fun to color, but buying big mandala stamps can really add up, so I thought I'd share one solution I've come up with - I bought a digital book of mandala designs to color!  I looked around for a while to find a whole book (as opposed to buying single images, which also adds up) with designs that I would actually want to color.  I finally found this one, Blooming Mandala coloring book, on Etsy that I love!  It's got 50 images and they are really pretty and fun to color!

They are meant to be printed on letter size paper so I just cut it up into 4 pieces and colored one.  I printed on plain old Georgia Pacific cardstock from Walmart and colored with Chameleon alcohol pens.  I wouldn't recommend trying to do a lot of blending on this cardstock because it does tend to bleed a lot, so the Chameleon pens were perfect to get that gradated look without any blending.

After coloring, I die cut it with a stitched rectangle die and matter with a piece of Blushing Bride cardstock from Stampin' Up!  I stamped the sentiment using my Mini MISTI and Versafine several times to get it really nice and solid, then embossed with clear embossing powder.

Finally I mounted the whole thing on a white card base then got back to cleaning! lol!  I hope you like this idea for lots of mandala coloring fun and thanks for stopping by today.  Have a great day! ~Maureen

 Affiliate links don't cost you any extra, but help with the cost of my stamping addiction!

Wednesday, June 29, 2016

Altenew and MISTI Blog Hop!


Hi all!  Welcome to my stop on the Hop!  If you've been following the links, then you've arrived here from Yoonsun Hur's blog.  If you just happened upon my blog, you'll want to start at the Altenew blog because there is much to see and stuff to win!

There are TWO mini MISTIs from My Sweet Petunia and THREE $30 gift certificates from Altenew up for grabs. Winners will be picked randomly from the comments across all of the blogs in the hop. Winners will be announced on the My Sweet Petunia and Altenew blogs on July 3, 2016.

Here's what I came up with:


And here's a video about how I made it:


And I want to mention an exclusive offer for My Sweet Petunia fans/followers/readers to celebrate our collaboration: Get 10 % off your entire order at www.altenew.com with code ALTENEWLOVESMISTI at check out. Offer ends on July 01 at midnight EST.


I don't want to take up any more of your precious time, so please leave me a comment and hop along to Lydia Evans' blog!  Enjoy!

Products used:

Tuesday, April 12, 2016

Sketched Botanical Garden

Hi all!  Today I have a card for you using a popular technique these days - the sketched look.  I watched a couple other videos on how to do it and came up with my own slightly modified version.  Here's the card:


And here's the video:


Basically I just stamp the image and sentiment in a light gray, trace over all outlines with black, highlight with white, and then shade lightly with black to get more of a gray color.  I even trace over the sentiment to make the whole thing look hand drawn.

This is for the SSS Wednesday Challenge - Happy Birthday.  Hope you like it and TFL!

Card Supplies:
Nail Supplies:

Wednesday, November 25, 2015

Sending Hugs

Hi all!  Today I have a card for a few challenges:

BeautifulDay1

Isn’t that flower gorgeous?!  It’s from the Altenew set Beautiful Day and is a multi-step image.  For both the flower and the leaves, I left out the first step so the highlights would be white.  It also meant 2 less coordinating colors that I had to find in my collection.  The sentiment was gold embossed and is from the same set.

This is for the following challenges:

I hope you like it and TFL!

Saturday, November 14, 2015

Hello Friend

Hi all! Here’s a card for today:

HalftoneHello1

I used Altenew’s Halftone Hello.  I stamped with Versamark and embossed with detail white EP then watercolored over it.  I stamped the “friend” with my MISTI using Versafine and cut out the panel with a Stitched Rectangle die.

I used the sketch from CAS(E) this Sketch.  I hope you like it and TFL!