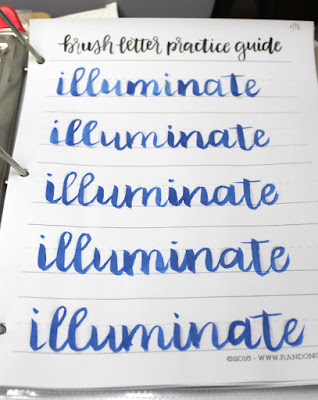
Brush lettering! I saw a couple people showing their work on social media and decided to give it a try since I've loved the look for a really long time, but didn't know how to go about teaching it to myself.
Random Olive has put together a printable guide so everyone can learn (with lots of practice!) how to do brush lettering. I've been doing it for a few days now and can already feel and see myself improving!
To start, I printed out the entire guide on my laser printer. I knew I wanted to be able to trace directly over the printing and didn't want the ink to smear so that's why I chose laser. It's not absolutely necessary though. Then I punched holes in all the sheets and put them in a big binder. I'm using page protectors as dividers for the different sections, and have been dating all the sheets when I do them so I can keep track of my progress.
Not only does Random Olive have a complete guide (including numbers) to learn the lettering, but she also has monthly challenges with a new word prompt each day to help you practice. You can either just practice the words on your own, or you can buy traceable sheets of all the words. Even though I haven't completed my brush lettering course, I'm also doing the word challenges to get even more practice. I printed out 3 copies of each word so I make sure to get lots and lots of practice!
You can see in the top photo that I'm using a real paintbrush and some really old Radiant Pearl paints that I haven't used in ages. It's helping me to get rid of that paint, and it's fun to play with different colors, especially when they sparkle! But I'm also trying it with my Tombow brush markers because they give a very different look for me.
If you're interested in learning brush lettering, I highly recommend the guide and monthly challenges! You can learn a fun new skill and by using my affiliate links in the sidebar (at no extra cost to you!), I'll get a little commission: Win-Win!!
I'm sharing my work on my Instagram account and if you get into it, I'd love to see your work there too! TFL!


