**Disclaimer: I am using the old style Quickutz hand tool for this method and while I have seen on Ellen Hutson's blog here that smaller Spellbinders dies may be used in the QK tool, she doesn't specifically say if this method is safe for the Nesties. On the Spellbinder's site, they don't mention compatibility with the QK hand tool and do say that using their dies with any other machine may void the dies' warranties, so please be careful if you choose to follow this tutorial. Thanks! **
How to make a shape fatter:
1) Dig out your old Quickutz hand tool.
2) Cut your cardstock just slightly larger than you want your finished diecut to be (the hand tool has a very limited reach so you can't have too much excess cardstock). For this tutorial, I cut my cardstock 6.5" square. I'm using the same largest die in the Long Classic Scalloped Rectangles Large set.
3) Position your die cutting edge down on your cardstock and secure with removable tape.
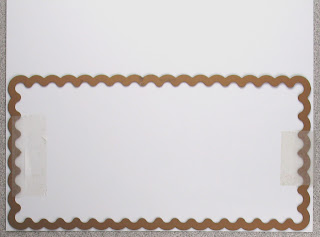
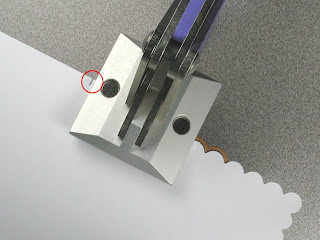
4) Flip your cardstock/die over and hold up to the light to see the die through the cardstock. Make 2 marks on the cardstock about 1 scallop in from the end. You must not cut past these marks.
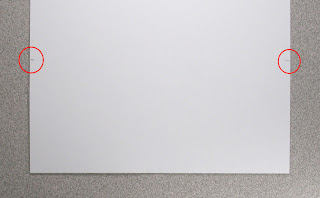
5) Position the hand tool next to one of the marks you made in the last step. The magnets in the tool should help to keep the die in place. Squeeze to make your first cut.
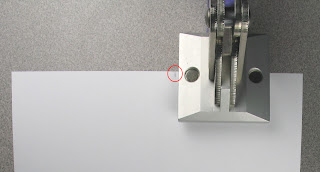
6) Move the hand tool over and squeeze to cut again.
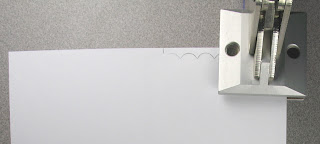
7) Keep moving and cutting, making sure you are cutting all the way through the cardstock as you go.
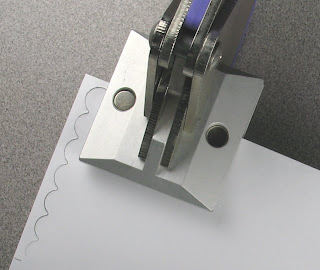
8) Stop cutting when you get to the second mark.
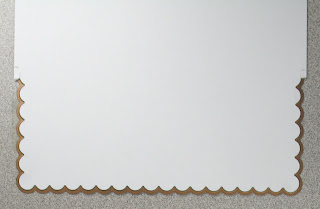
Here's what you have so far after the excess is removed.
9) Just as in Part 2 of the tutorial, reposition the die so that only a couple scallops are in the die. Make 2 new marks to show you where to stop cutting.
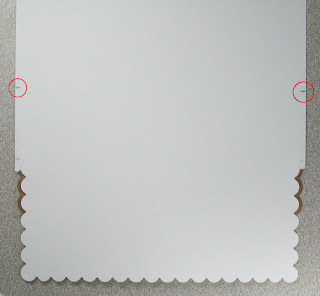
10) Cut with the tool up to the new marks on both sides. I was only able to do about 1 cut on each side.
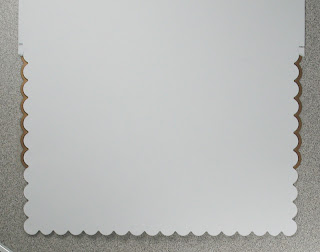
Here's what you have after this round of cutting with the excess removed.
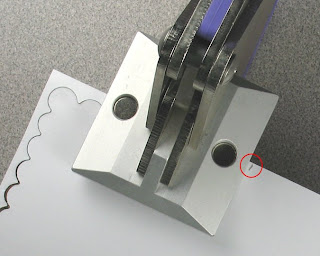
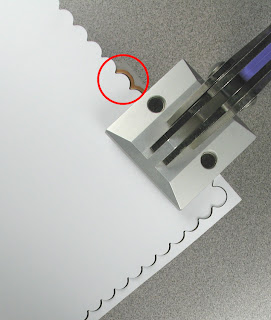
11) Continue moving the die and cutting until you get to the end of your cardstock. Position your die one last time and cut all the way around this final edge. Be careful that you don't cut too far. In the picture below, the circled area is the end of the die. If you cut there, you would ruin your diecut.
Here's the final diecut - a giant scalloped square!
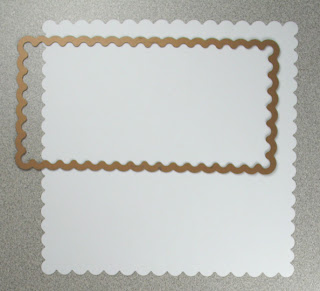
And just to take it a bit farther, I started with a rectangle of cardstock 6 1/2" x 11" for this beauty!
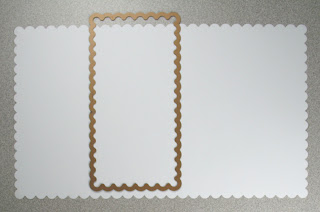
And there you have it: A way to make ginormous diecuts with your Nesties. Hope you get some use out of this tutorial!!

Wow! Great tutorials... Check out my blog... I gave you an award. =)
ReplyDeleteTHANK YOU! You are so sweet to have remembered my question. :) Sending you a big cyber hug! Now all I have to do is buy an old QK handtool. :) :)
ReplyDeleteAwesome tutorial...thank you for sharing! Now I have to go buy one of these tools lol
ReplyDelete